How to Brief a Custom Crewneck Sweatshirt Manufacturer
Briefing a custom crewneck sweatshirt manufacturer starts with a crewneck-specific fit block, an identified body fabric, and measurable rib requirements. Define the neckline, shoulder construction, cuffs, hem, decoration placement, and finished measurements together rather than adapting a hoodie specification without review. MOQ 100 pcs per color per design is the starting garment requirement; confirm size allocation and separate fabric, rib, and decoration minimums. Samples take approximately 7 days once the brief and materials are confirmed. Bulk timing depends on quantity, material readiness, capacity, and approvals. Release production against an approved sample and a revision-controlled specification that records wash behavior and acceptable variation.
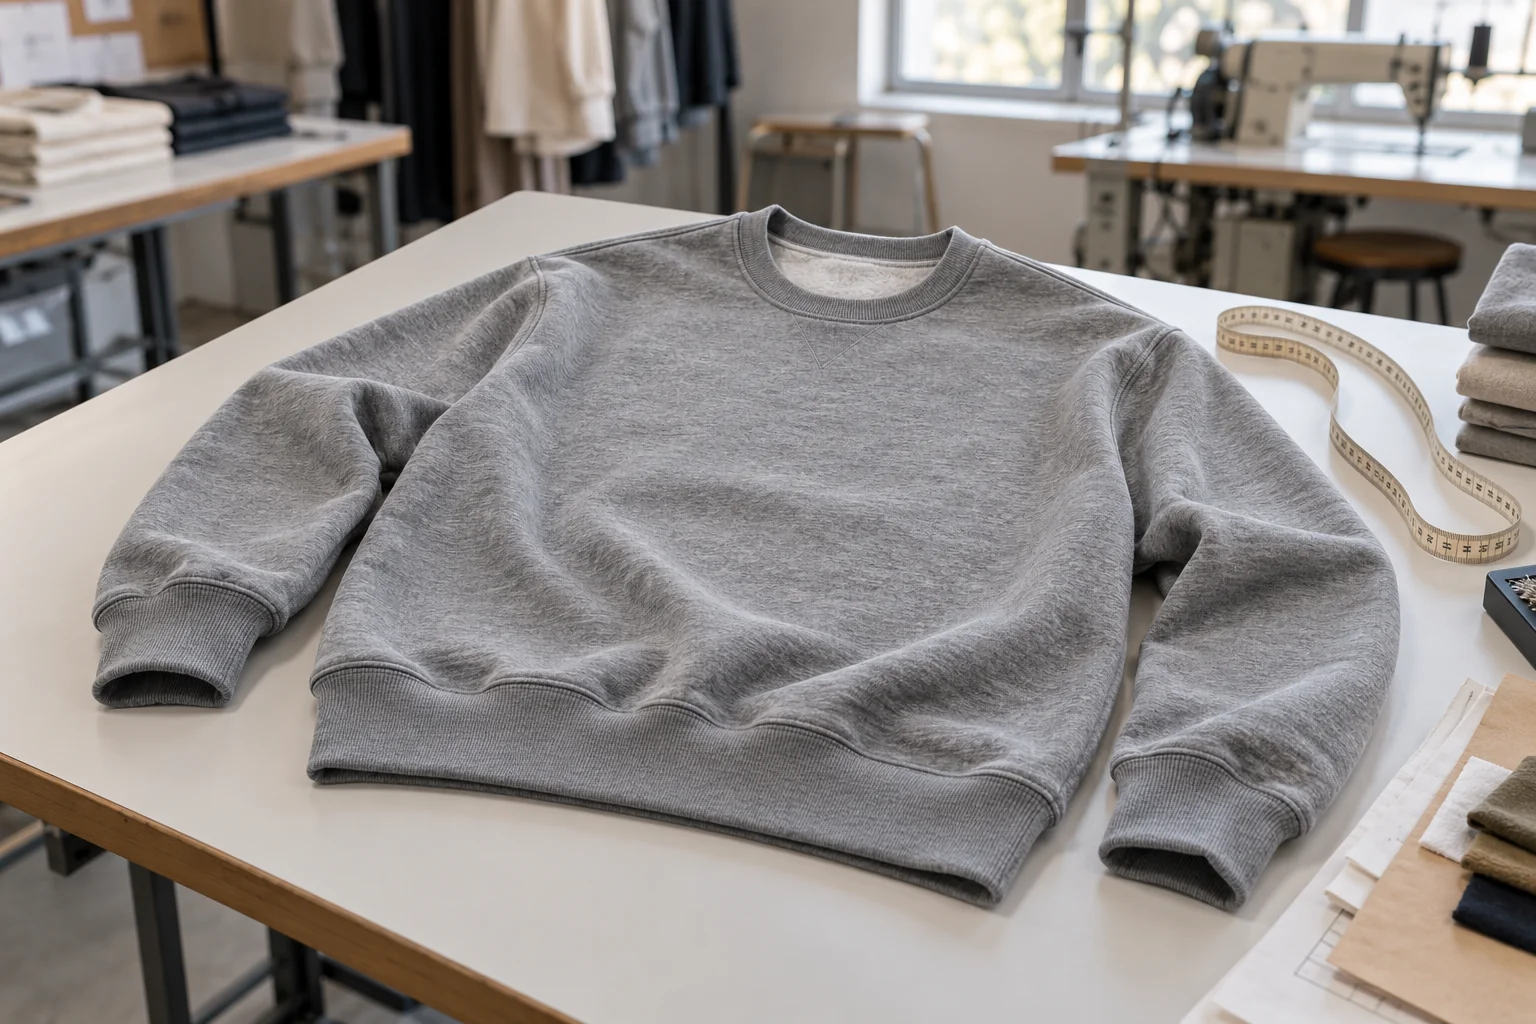
At a glance
Swipe the table sideways to compare both columns →
| Evaluation point | Evidence to request | Decision or control |
|---|---|---|
| Crewneck fit block | Measurement diagram, shoulder construction, pattern version, and graded size chart | Approve a crewneck-specific silhouette rather than an unchanged hoodie block |
| Body and rib materials | Fabric article, GSM, usable width, rib construction, and paired wash findings | Qualify fleece or French terry together with neck, cuff, and hem rib |
| Neckline geometry | Finished rib height, opening measurements, seam construction, and recovery observations | Balance head passage, neckline shape, and return after stretching |
| Decoration and finishing | Placement diagram, neckline clearance, application sample, and wash sequence | Approve artwork on the intended fabric and finished garment condition |
| Production release | Approved sample, resolved comments, material approvals, and inspection checkpoints | Authorize bulk only against a consistent, revision-controlled production package |
1. Give the custom crewneck sweatshirt manufacturer a dedicated fit brief
Start the brief by identifying the product as a closed-front crewneck sweatshirt with no hood, zipper, or collar opening. Describe the intended silhouette, wearer, layering allowance, and finished length, then attach front, back, and detail drawings. Specify whether the shoulder is set-in, dropped, or raglan, because that choice changes sleeve measurements, seam placement, and how the body hangs. Provide a base size and measurement diagram covering chest, body length, shoulder width where applicable, sleeve length, armhole, biceps, cuff opening, hem opening, and neckline. State the measurement condition and tolerances instead of relying on a size label such as oversized medium. A reference garment can clarify proportions, but record which features should be followed and which should change. Require the factory to identify any missing dimensions before it develops the first pattern.
Do not accept an existing hoodie block as a finished crewneck pattern simply because the chest and body length appear suitable. Removing a hood changes the neckline assembly and how weight is distributed around the shoulders. Ask the pattern team to review front and back neck depth, neck width, shoulder slope, upper back shape, and sleeve balance for the proposed crewneck. Establish whether sleeve length is measured from the shoulder seam or another defined point; dropped shoulders make mixed measurement methods especially misleading. For raglan construction, show the exact measuring route and seam endpoints. Request a graded size chart rather than assuming every dimension increases equally between sizes. Review the base-size sample on the intended body or form, then identify which additional sizes need checking before production. Keep pattern corrections separate from styling comments so the approved block can support repeat orders.
2. Specify fleece or French terry together with matching rib
Choose the body fabric by its construction and intended finish, not by a broad sweatshirt fabric description. For fleece, identify whether the reverse is brushed and describe the required surface, loft, and handfeel. For French terry, request a visible loop-back reference and clarify whether the reverse must remain unbrushed. Record fiber composition, GSM with tolerance, usable width, color reference, and the condition in which weight is measured. Ask for the fabric article and a labeled swatch representing the proposed production material. Similar composition and weight do not establish equivalent drape, surface appearance, or sewing behavior. Discuss how the chosen fabric supports the silhouette: a soft body may collapse at a broad shoulder, while a firmer construction may hold more volume than expected. Treat an alternative article as a new approval requiring its own consumption and finishing review.
Specify neck, cuff, and hem rib as separate bill-of-materials entries, even if the supplier proposes one rib quality for all three positions. Record composition, knit structure, weight or another agreed material identifier, finished color, and intended stretch direction. Ask whether matching rib is stocked, knitted to order, or dyed separately from the body, and identify any independent minimums. Review body and rib together under agreed viewing conditions rather than approving isolated swatches. Their surface structures can make the same nominal color appear different, particularly after washing or stretching. Request paired material trials to assess dimensional change, color compatibility, and behavior at sewn joins. If a rib substitute is needed, require approval before cutting; a similar-looking alternative may pull the hem inward or distort the neckline. Confirm material availability before treating the garment MOQ as evidence that every custom fabric route is feasible.
3. Define neck rib height, opening, and recovery
Define finished neck rib height as the visible distance from the neckline joining seam to the folded edge, and illustrate where it is measured. Distinguish that dimension from the cut rib width, which also includes the folded construction and seam allowances. Provide neck opening width and front and back depth using a labeled diagram, with the garment laid flat and relaxed. Ask the factory to propose the rib cutting length and joining method based on the actual body opening and rib behavior. Do not impose a universal rib-to-neckline ratio across different materials. Too much tension can gather the body or create a raised edge, while too little can leave the opening loose or wavy. Identify the rib join location, seam finish, and any back-neck tape. Review comfort and appearance together, including whether internal seams or labels create unwanted bulk at the back neck.
Assess head passage and recovery on a sewn sample using the intended rib, not only by stretching a loose swatch. Agree a repeatable evaluation procedure that records the starting opening, how it is extended, the resting interval, and the observation or measurement after release. Have the supplier propose practical acceptance limits for buyer approval rather than treating terms such as good recovery as inspection criteria. Check whether the edge returns evenly, whether the joining seam restricts extension, and whether stitching shows damage or distortion. Repeat the assessment after the agreed wash and drying procedure because finishing can change both the body opening and the rib. Keep photographs and measurement records with the sample comments. If the neckline needs revision, establish whether the correction belongs in the pattern, rib cutting length, rib material, or sewing setup before approving another sample.
4. Connect shoulder construction with sleeve and hem rib
Describe shoulder construction through seam position, silhouette, and finishing details rather than using dropped shoulder as a complete instruction. Show the intended shoulder seam location relative to the wearer, the sleeve angle, and the armhole shape on the drawing or reference. Specify the visible stitch treatment and any internal reinforcement, then ask the factory to confirm suitability for the chosen fabric thickness. Check seam intersections for bulk and review whether the shoulder line stays balanced when the wearer moves. A chest measurement alone cannot reveal a sleeve that hangs incorrectly or an upper body that pulls toward the back. For raglan styles, review the seam curve and underarm junction on the actual sample. Record seam construction decisions in the specification so a later efficiency change does not alter appearance, stretch, or comfort without buyer review.
Define finished cuff and hem rib heights, relaxed openings, and attachment seams independently. State whether the hem should sit close to the body, hang relatively straight, or create a bloused effect above the rib. Ask the supplier to reconcile that intention with body width, rib cutting length, and available stretch rather than relying on a standard cuff or waistband pattern. Check that hands pass through the cuffs comfortably and that sleeves return to the intended position after movement. Evaluate the hem while standing and sitting, since a visually neat flat sample may ride up in wear. Review side-seam alignment, rib joins, and transitions where body seams meet the rib attachment. Measure after the agreed resting and finishing conditions, then repeat after laundering. Keep appearance comments alongside dimensions so an opening that measures correctly but gathers unevenly is not automatically accepted.
5. Set neckline clearance and verify the complete wash route
Locate decoration from stable, clearly named garment reference points and state whether placement is checked before or after finishing. For a center-front graphic, identify the centerline, artwork dimensions, and distance from the neckline joining seam to the top of the artwork. Clarify whether rib is excluded from that distance. Do not use below collar as the only instruction, because rib height and neck depth can change the apparent placement. Ask the decorator to review clearance for its equipment, seams, and backing needs before the sample is made. Dense embroidery or a large print near the neck can change local drape or make puckering more visible. Approve an application trial on the intended body fabric and examine the garment while worn as well as laid flat. Define placement rules across sizes instead of assuming one artwork position suits the entire range.
Document the manufacturing finish separately from the care procedure used to assess the finished sweatshirt. State whether the garment is washed, softened, or otherwise treated during production, and identify whether decoration is applied before or after that process. Ask the supplier to record the agreed sequence because changing it can affect placement, color, handfeel, and dimensions. Compare measurements before and after the specified wash and drying procedure, including body length, chest, sleeves, neckline, cuffs, and hem. Evaluate body and rib shrinkage together; unequal movement can create a wavy joining seam even when each material seems acceptable alone. Review seam twist, surface changes, color transfer where relevant, and decoration condition. Have the pattern team incorporate validated allowances rather than adding an arbitrary percentage to every dimension. Retain the washed sample and its records as part of the approval package.
6. Release samples and bulk against documented approval gates
Build the sample request around a complete brief: drawings, base-size measurements, grading expectations, identified body and rib materials, construction details, artwork files, labels, and the intended finishing route. Samples take approximately 7 days once the brief and materials are confirmed; allow separate time for unavailable materials, decoration development, shipping, and revisions. Ask what the first sample will represent and list any substitutions before work starts. A fit sample in substitute fabric may help evaluate proportions, but it should not approve bulk shrinkage, rib recovery, or decoration performance. Return consolidated comments with photographs, measured discrepancies, and clear decisions rather than several conflicting message threads. Give each revision a version identifier and separate required corrections from optional preferences. Require the next submission to show how unresolved points were addressed, including any changes that affect dimensions already accepted.
Before bulk release, reconcile the approved garment sample, specification, bill of materials, artwork, size allocation, and purchase order. Confirm MOQ 100 pcs per color per design and document separate commitments for custom fabric, rib, labels, or decoration. Bulk timing depends on quantity, material readiness, production capacity, and approval completion; obtain a schedule tied to those conditions rather than an unconditional date. Define material approval, pre-production approval, early production review, and final inspection responsibilities. State which issues stop cutting or decoration and who can authorize corrective action. Require permission for material substitutions and process changes that could affect the approved result. At inspection, compare finished measurements, neckline recovery, rib appearance, shoulder balance, decoration placement, and packaging against the recorded requirements. Keep retained samples and lot identification available for investigating differences, and document the disposition of nonconforming garments before shipment.
Send these details together
- Issue a crewneck-specific fit block with shoulder construction, neckline dimensions, measurement diagrams, and grading requirements.
- Identify fleece or French terry body fabric and approve neck, cuff, and hem rib with separate material records.
- Define finished neck rib height, opening measurements, head passage, recovery assessment, and seam details.
- Approve cuff and hem openings, shoulder balance, decoration dimensions, and clearance from the neckline joining seam.
- Record production finishing and care-test procedures, then review paired body-and-rib shrinkage on an actual-material sample.
- Confirm MOQ 100 pcs per color per design, material commitments, sample revisions, and written bulk release gates.
This guide covers buyer-side China menswear OEM planning for custom crewneck sweatshirts, excluding hooded and half-zip styles. The starting garment requirement is MOQ 100 pcs per color per design; confirm size allocation and separate material or decoration minimums. Samples take approximately 7 days once the brief and materials are confirmed. Bulk timing depends on quantity, materials, capacity, and approvals. Use the approved specification and sample to define order-specific acceptance requirements. Reprint attribution: hoodiemanufacturerchina.com.
Prepare a quote briefThe RFQ form prepares a WhatsApp message for you to review. For files, email sales@hoodiemanufacturerchina.com.
Questions before sampling
Can a factory use my approved hoodie block for a crewneck?
It can be a development reference, but it should not become the approved crewneck block without review. Ask the pattern team to reassess neck width and depth, shoulder slope, sleeve balance, and upper-body shape after removing the hood. Approve a crewneck sample with its own neckline assembly and measurement record before carrying the block into bulk production.
How should I specify neck rib recovery?
Specify the actual rib material and sewn neckline, then agree a repeatable assessment covering starting dimensions, extension, resting interval, and the opening after release. Have the supplier propose acceptance limits for approval. Check head passage, seam extension, and return of the edge before and after the agreed laundering procedure. A fiber percentage or loose rib swatch alone is insufficient.
Is French terry interchangeable with brushed fleece?
No. Similar GSM and composition do not make the constructions equivalent in surface, loft, drape, or finishing behavior. Identify whether the reverse should have exposed loops or a brushed surface and approve the actual article. If the factory proposes a substitution, reassess fit, body-and-rib shrinkage, decoration behavior, and consumption before accepting it for the order.
What needs approval before bulk crewneck production starts?
Approve the actual-material garment, resolved fit comments, body and rib colors, decoration application, finishing route, and post-wash measurement findings. Reconcile these with the current specification, artwork, size allocation, and purchase order. Confirm MOQ 100 pcs per color per design and separate material commitments. Assign release authority and require review of substitutions before cutting or decoration begins.
What are your MOQ, sample time and bulk lead time?
MOQ is 100 pcs. Samples take 7 days. Bulk production lead time depends on order quantity.