How to Brief an Oversized Hoodie Manufacturer
Briefing an oversized hoodie manufacturer starts with defining volume distribution, not simply increasing chest width. Specify body width against length, shoulder drop, sleeve shape, cuff recovery, hood volume, and pocket position as one connected silhouette. Select fabric by its finished drape and stability rather than GSM alone, then verify that grading preserves the intended oversized fit through XL. Plan MOQ 100 pcs per color per design separately from fabric and trim minimums. Samples take approximately 7 days once the brief and materials are confirmed; bulk timing depends on quantity, material readiness, capacity, and approvals. Use documented sample and bulk gates before releasing cutting.
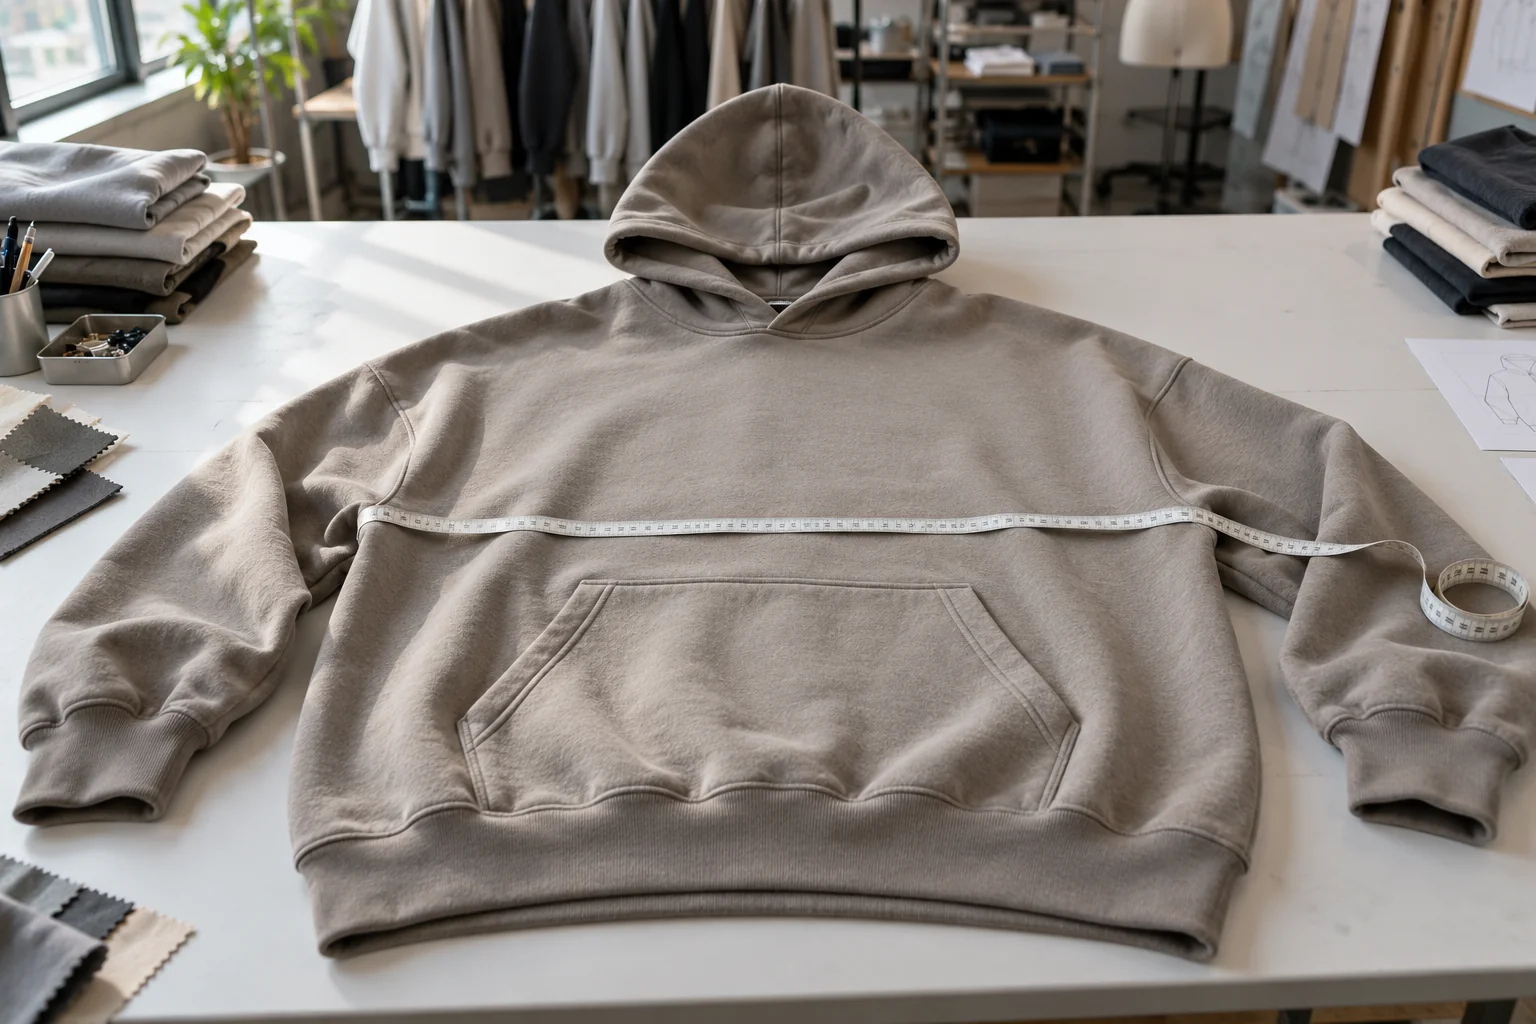
At a glance
Swipe the table sideways to compare both columns →
| Briefing point | Evidence to request | Approval control |
|---|---|---|
| Body and shoulder geometry | Flat measurements, shoulder seam position, and front and side fit photographs | Approve width, length, and shoulder drop together |
| Sleeve and cuff balance | Total sleeve reach, sleeve widths, cuff dimensions, and recovery observations | Prevent extra shoulder width from creating excessive sleeve length |
| Hood and pocket proportions | Hood dimensions, neckline attachment, and pocket placement coordinates | Check visual balance and function on the worn garment |
| Fabric and rib behavior | Actual-fabric sample, finished weight, drape, shrinkage, and rib compatibility | Approve the material and finishing route before pattern release |
| Grading and production gates | Size chart, larger-size sample, sealed reference, and first production review | Preserve oversized ease and stop unapproved substitutions |
1. Give the oversized hoodie manufacturer a silhouette brief
Start with the intended wearer, size range, and layering use, then describe where the hoodie should carry extra volume. An oversized body can be long and relaxed, cropped with a wide hem, or nearly straight from chest to waistband; these are different pattern requests. Provide front, back, and side references with notes identifying the features to retain rather than asking the factory to copy an entire image. State whether the shoulder seam should sit slightly beyond the shoulder point or visibly down the upper arm. Define the intended hem position and whether the waistband should hang open or pull the body inward. For a China OEM handoff, put these decisions in a dated technical brief with one approved revision owner. Ask the supplier to return a marked interpretation before drafting, especially where visual references and written measurements appear inconsistent.
Translate that silhouette into a measurement table that names every point, measuring method, sample size, and tolerance. Distinguish flat half chest from full circumference, and specify the distance below the armhole where width is taken. Define body length from a consistent shoulder or neck reference and say whether the waistband is included. Add hem width, shoulder width, armhole depth, and the body width near the pocket if the side seams taper. Relate garment dimensions to the target wearer's measurements so oversized means planned ease rather than an arbitrary larger size label. Keep the intended hoodie construction explicit: pullover or zip front, lined or unlined hood, and selected pocket type. Unlike an oversized tee, the hood, pocket, and rib add weight and restraint that can change the body outline. A tee measurement chart should therefore not serve as the hoodie pattern specification.
2. Balance body width, shoulder drop, and sleeve reach
Approve body width and length as a pair before adjusting individual features. A wider chest with unchanged length may produce the desired broad proportion, but a tight waistband can gather that width into a rounded shape. Request flat and worn photographs with the hem resting naturally, not stretched down for the camera. Review front length, back coverage, side seam position, and how the body sits when the wearer raises and lowers both arms. Define shoulder drop through the pattern measurement and the visible seam position on the agreed fit model; the same shoulder width can look different on different bodies. Ask the pattern maker to explain how shoulder slope and armhole depth support the reference. A deep armhole can restrict movement or pull the body upward despite generous chest width, so width alone is not evidence of a functional oversized fit.
Treat sleeve reach as the combined effect of shoulder extension, sleeve length, and cuff length. If the shoulder seam moves outward while sleeve length stays unchanged, the cuff may cover more of the hand than intended. Specify sleeve length from the shoulder seam and add a consistent total reach measurement, such as center back neck to cuff edge along the approved measuring path. Include upper sleeve width, elbow or lower sleeve width where useful, cuff seam width, relaxed cuff opening, and cuff height. State whether the sleeve should stack above the wrist or fall cleanly into the cuff. Review the cuff on the wearer and after stretching enough for hand passage. A firm cuff can support sleeve volume, but excessive tension can make the sleeve balloon or feel restrictive. Approve the rib quality and attachment method alongside dimensions rather than treating rib as an interchangeable trim.
3. Size the hood and place the pocket on the worn body
Specify hood volume independently from chest width, then review the two together on the garment. Record hood height, depth, face opening, neckline attachment, panel construction, and lining material with diagrams showing how each dimension is measured. A wide body with a shallow hood can look unbalanced, while a heavy oversized hood may pull the neckline backward. Check the hood both up and down, with the wearer facing forward and turning the head. Ask whether the face opening should frame closely, stand away, or collapse softly, and evaluate that request in the actual fabric. Include drawcord channel position and hardware placement where applicable, but do not use tightening the cord to disguise an unsuitable hood shape. Review neckline comfort and back neck movement with the pocket empty and the hem settled naturally. Hood approval should include its resting shape on the upper back, not only a flat outline.
Place the pocket using coordinates from stable garment references rather than scaling it automatically with chest width. For a kangaroo pocket, specify overall width and height, opening length and angle, distance from center front, and distance from the pocket bottom to the waistband seam. Identify whether measurements refer to the cut piece, finished pocket, or visible opening. On a broad chest, a narrow pocket may appear isolated, but an excessively wide pocket can wrap toward the side seams and become awkward to use. Review hand entry, comfortable hand position, and how the openings behave when the body hangs loose. Check pocket top edges and corners for distortion after finishing, especially if the pocket is cut in a different fabric direction. If artwork sits above or overlaps the pocket, approve its relationship to both the pocket and neckline on the actual sample rather than judging placement from a flat graphic mockup.
4. Choose fabric that supports volume without unwanted ballooning
Brief fabric with composition, knit construction, finished GSM, usable width, surface finish, and the required handfeel. Name whether the interior should be brushed, looped, or otherwise finished, and identify the condition in which weight is measured. GSM does not determine drape by itself: yarn, knit density, finishing, and rib restraint all affect how a wide body hangs. Ask for candidate swatches, but use an actual garment to compare the shortlisted material with the intended silhouette. A compact fabric may hold a broad outline yet stand away at the waist; a softer fabric may collapse under a heavy hood or loaded pocket. Describe the acceptable result in observable terms, such as a straight side profile, soft sleeve folds, or a waistband that does not gather the chest excessively. Request the supplier's construction recommendation and record the tradeoffs instead of assuming heavier fabric is automatically better for an oversized hoodie.
Verify fabric and rib behavior through the planned finishing and care route before fixing production measurements. Agree how dimensional change will be checked, which measurements will be recorded, and when the garment will be measured after treatment. Compare body length, chest width, sleeve reach, hood opening, and pocket distortion before and after the agreed procedure. Include twisting, surface appearance, and rib recovery in the review, because acceptable size change does not prove acceptable appearance. Match rib weight, elasticity, and recovery to the shell rather than selecting only by color. Record whether hood lining and pocket construction introduce additional shrinkage differences or bulk. If the first sample uses substitute fabric, label it as a fit development sample and list the approvals it cannot support. Do not release the final pattern or consumption allowance solely from that substitute. Require a new review when the bulk article, finish, or rib quality changes.
5. Grade the silhouette so XL remains intentionally oversized
Build the size chart from the intended wearer range rather than adding the same increment to every garment point. List target body measurements separately from finished garment measurements, then check the planned ease in each size. If chest growth in the garment is smaller than growth in the target body chart, XL may become a regular fit even though the base size looks oversized. Review chest, hem, shoulder, armhole, sleeve width, and body length as a connected grade. Do not extend shoulder width and sleeve length without checking total reach. Hood dimensions, cuff openings, and pocket positions may need different grading decisions from the body; neither freezing them nor enlarging them automatically is a complete rule. Ask the pattern maker for the proposed increments and rationale, and approve the resulting measurement chart before ordering the size set. Record any deliberate differences in proportion across the range.
Review the base sample and at least a strategically selected larger size on wearers whose measurements match the intended fit basis. Where XL is a key selling size, include it explicitly instead of inferring its appearance from a medium sample. Use consistent photographs and a repeatable movement check so differences in pose do not conceal grading problems. Compare shoulder seam position, hood balance, cuff location, pocket reach, hem coverage, and the amount of body ease. A flat measurement pass can coexist with a poor silhouette if the grade distributes width in the wrong places. Mark each correction as a base pattern change, a grade change, or a construction change, then ask for the revised chart and affected pattern versions. Define which corrections require another physical sample. Keep the accepted size set linked to the same fabric and finishing assumptions that will govern bulk production rather than approving sizes in isolation.
6. Connect sampling approvals to controlled bulk release
Separate the commercial starting point from the technical release conditions. Plan MOQ 100 pcs per color per design, then confirm the size allocation and any separate minimums for shell fabric, matching rib, lining, drawcords, and decoration. Ask who owns surplus materials and whether stock availability is reserved for the order. Samples take approximately 7 days once the brief and materials are confirmed; identify which sample stage that estimate covers and allow additional time for sourcing, transit, testing, and revisions. Set a first gate for silhouette and construction, a second for actual materials and finished behavior, and a final gate for the production reference and size chart. One sample may satisfy several gates only when it contains the necessary evidence. Record open points in writing and state whether each prevents cutting, decoration, or packing. A general comment such as approved with changes should not function as an unrestricted bulk authorization.
Before cutting, attach the approved measurement chart, tolerance list, pattern revision, material identities, decoration placement, and finished sample reference to the production order. Confirm that the factory has checked incoming fabric and rib against the approved route and reviewed any lot differences requiring buyer acceptance. Review initial production garments after the relevant finishing steps, not only unfinished pieces from the sewing line. Compare body proportions, total sleeve reach, hood shape, pocket symmetry, seam appearance, and measurements across the agreed size selection. Define who can release the next operation and how a failed check is contained and corrected. Bulk timing depends on quantity as well as material readiness, capacity, and approval turnaround, so request a dated schedule tied to these gates. Keep packing approval separate from garment approval where labels or presentation remain open. Require written acceptance of substitutions before use rather than discovering changed fabric or rib at final inspection.
Send these details together
- Define the intended wearer, layering use, body width-to-length relationship, shoulder drop, and hem behavior.
- Specify sleeve seam length, total reach, sleeve widths, cuff dimensions, and the approved rib quality.
- Document hood geometry and pocket coordinates, then verify balance and function on the worn sample.
- Approve actual shell, lining, and rib through the intended finishing and care checks.
- Compare garment ease across the size chart and verify XL or another key larger size physically.
- Confirm MOQ allocation, sample stages, production references, substitution controls, and bulk release owners.
This guide covers buyer-side China menswear OEM planning for oversized and dropped-shoulder hoodie programs. MOQ 100 pcs per color per design is the starting garment requirement; confirm size allocation and separate fabric, rib, and trim minimums for the proposed order. Samples take approximately 7 days once the brief and materials are confirmed; bulk timing depends on quantity, materials, capacity, and approvals. The guide addresses silhouette development and production handoffs, not a universal size chart or a substitute for destination-market compliance review. Reprint attribution: hoodiemanufacturerchina.com.
Prepare a quote briefThe RFQ form prepares a WhatsApp message for you to review. For files, email sales@hoodiemanufacturerchina.com.
Questions before sampling
Can I create an oversized hoodie by ordering a regular hoodie in a larger size?
Sizing up increases dimensions according to the existing pattern, not your intended silhouette. It may add unwanted length, sleeve reach, or neckline width without creating the desired shoulder drop. Brief the oversized version with its own body proportions, sleeve shape, hood balance, and hem behavior. Compare it on the intended wearer before approving the pattern and size chart.
What fabric weight should I specify for an oversized hoodie?
Choose weight alongside construction, composition, finishing, and the desired drape. There is no single GSM that establishes an oversized silhouette. Request candidate materials and compare actual garments for side profile, sleeve folds, hood pull, and waistband gathering. Approve the finished fabric and matching rib together, including their dimensional change and recovery under the agreed care procedure.
How do I keep XL from fitting like a regular hoodie?
Compare the finished garment chart with the target body chart in every size. Check that the intended ease remains present as body measurements increase, then review where the grade places that extra width. Include an XL fit sample when it is commercially important. Evaluate shoulder drop, sleeve reach, hem coverage, pocket access, and hood balance rather than relying on chest width alone.
What should be approved before bulk cutting begins?
Approve the actual-material production reference, finished measurement chart, relevant size samples, pattern revision, and construction details. Confirm fabric and rib identities, finishing assumptions, pocket and decoration placement, and incoming material acceptance. Separate unresolved packing details from issues that block cutting. Document who authorizes release and require written review of substitutions or changes that could affect fit, appearance, or consumption.
What are your MOQ, sample time and bulk lead time?
MOQ is 100 pcs. Samples take 7 days. Bulk production lead time depends on order quantity.